|
|
Landscape photography has become a classic topic in both amateur and professional photography, but there is a long road to explore rather than sticking to a conformist point-and-shoot fashion instead of pushing yourself to your limits, of becoming one with the scenario surrounding us and also to know how to get the most of the environment we are part of as photographers.
Not so long ago landscape photography depended mostly of the skills of the photographer and the quality of the camera used. Even if that is still true to some point, modern day photography requires way more than that; post processing techniques are an essential part of the photography workflow, even more for landscape photography.
Whether if it means enhancing detail, getting a richer tint in foliage, deepening blue sky or lakes… whatever you can put your mind into, landscape photography requires a proper knowledge of digital postproduction techniques and the software used for it if our aim is to achieve a high quality job with the tools provided for the task.
Today I would like to extend an invitation to this journey of digital postproduction with Adobe Lightroom as our partner in adventure; this versatile software born in 2006 has everything that is needed to accomplish a high quality job while preserving its identity and way more. But in order to get the most from our pictures it becomes vital to learn our way through this friendly but challenging software. Let’s get our hands on this now!
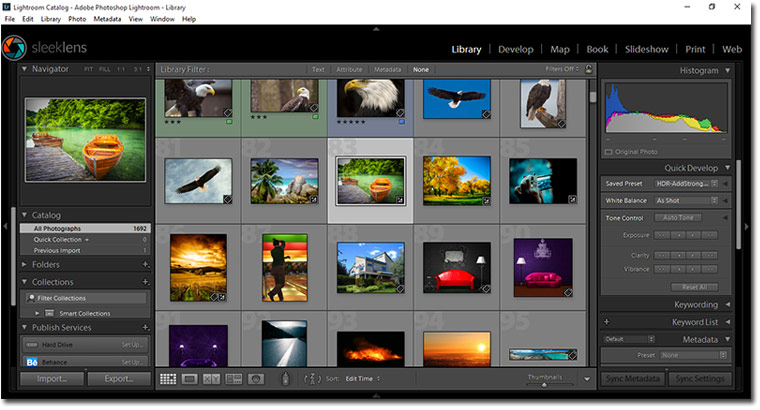
Workflow for Landscape Photography
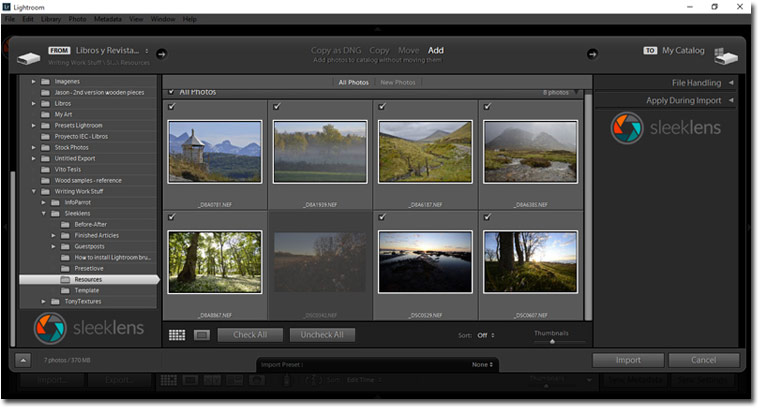
The first instance with this postproduction process is to move the pictures from the camera to a pc (or Mac) in order to develop them. If we happen to be working with smartphones then half of the job can be done inside the phone itself with the app Lightroom Mobile, although it is not as powerful as desktop version of Lightroom can be.
Insert your digital media in your pc and you will notice, unless you have unchecked the option at the Preferences panel, that Lightroom will pop up prompting you to take an action in order to import the pictures:
After importing the content we then need to locate the files that we need to process with Lightroom and after choosing a picture to start with, move to the Develop module.
In here we are going to apply the essential adjustments needed for Landscape Photography and way more if we happen to have Lightroom presets.
When we complete the adjustments needed with this module it is time to think on the output of this files; for this task there are several options:
- Output to image (JPEG, PNG, TIFF, etc)
- Output to print (with Print Module)
- Output to Slideshow (with Slideshow Module)
- Output to publication (with Book Module)
- Output to web design (with Web Module)
Regardless of your option the aim is the same: to process your picture under the best way possible and then create an appealing result.
Lightroom’s Essential Adjustments for Landscape Photography
When we work with the Develop module, all the tools provided by Lightroom become our partners. Adjustments can be handled in two ways:
- Traditional method: with tools and sliders
- Express method: with presets
Presets are predefined sets of instructions applied to Lightroom’s features at the Develop module that make our life easy. They work like saved routines of work that can be reapplied any time we require them to be used.
High quality presets are the ones crafted with seriousness, providing a huge improvement into the image original conditions. That’s the case with several bundles of products made by designers companies like Sleeklens.
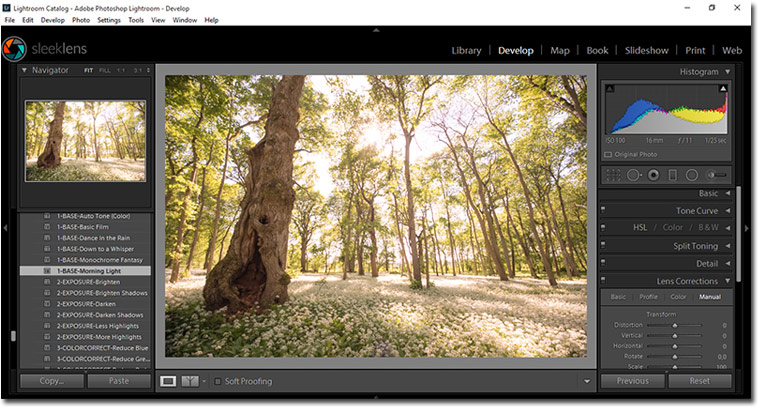
For starting with this development process we are going to move right into the develop module with the picture we selected to work with.
The first adjustment that we need to apply, regardless of working with presets or not, is to compensate White Balance on the picture since it will affect the overall image conditions by changing hues.
From this point you can choose if you would like to work with presets to make things faster or to stick to the traditional method. In my case I am going to show the power of presets by using the bundle “Through the Woods Workflow” by Sleeklens, which is specifically made to bring beauty into our landscape pictures.
With this fantastic product you can achieve the desired result with an All-in-One preset or work your way with the other presets.
First apply a “1-BASE-Morning Light preset” to bring more life to this underexposed RAW picture:
Then go with “2-EXPOSURE-Darken Shadows” in order to avoid strong lighting conditions:
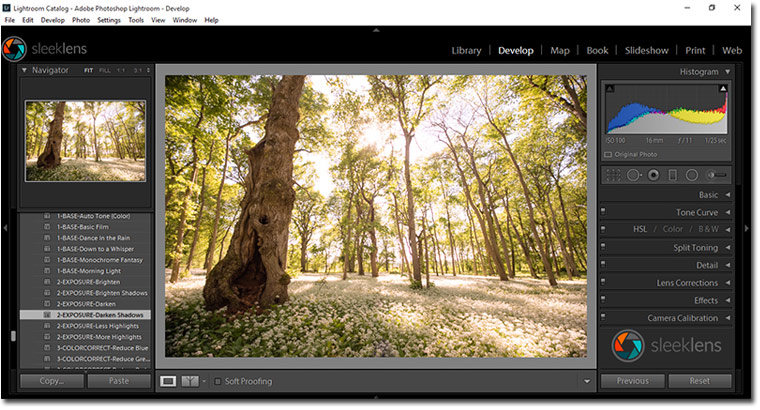
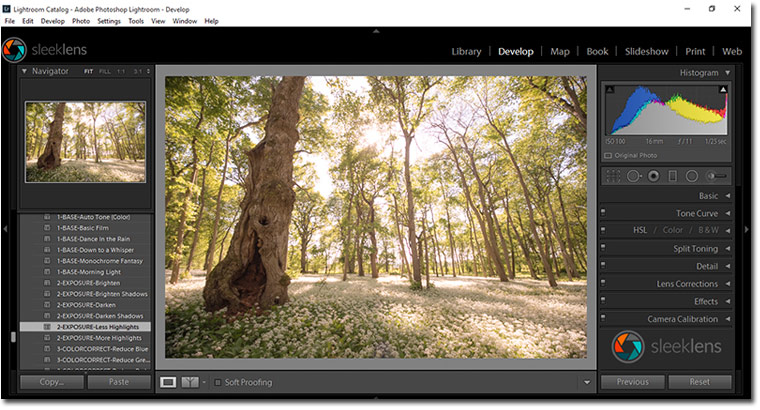
And do the same with “2-EXPOSURE-Less Highlights”:
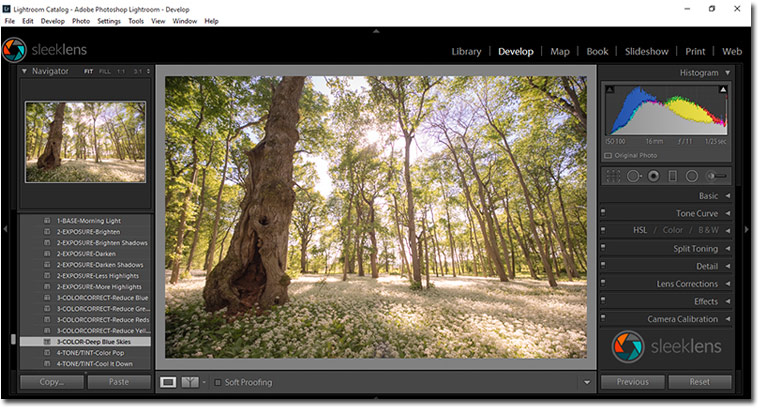
For bringing more detail to the sky use the “3-COLOR-Deep Blue Skies”:
Use the “4-TONE/TINT-Color Pop”, even if by now the result seems a bit unrealistic but adds life to the image:

Then work your way for polishing your image with these presets like “5-POLISH-Add Clarity”:

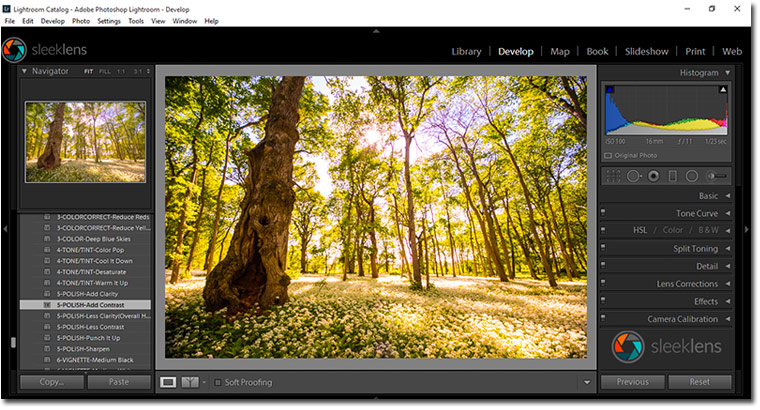
Apply “5-POLISH-Add Contrast”:
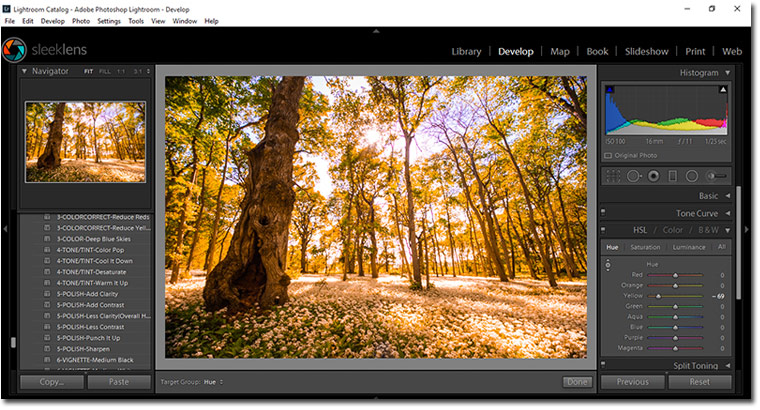
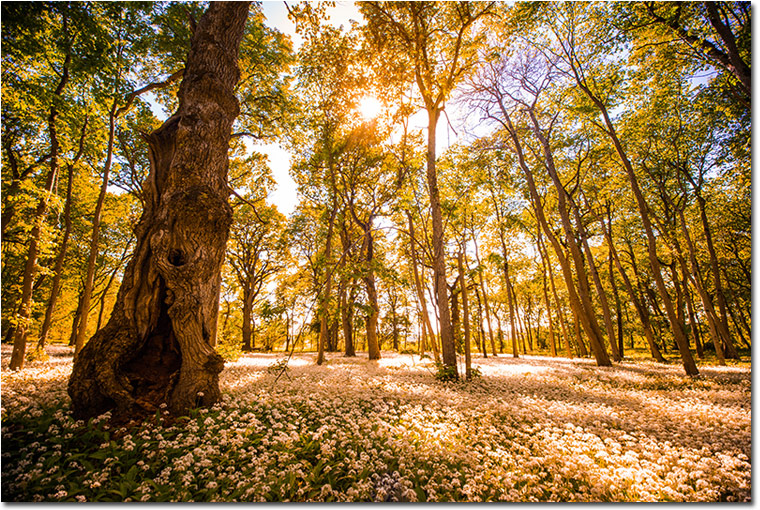
I am going to give the image a nice Autumn tint by using the HSL panel. Select the button isolated on a corner and sample at one of the trees, then, move down the yellow slider until you feel pleased with the result:
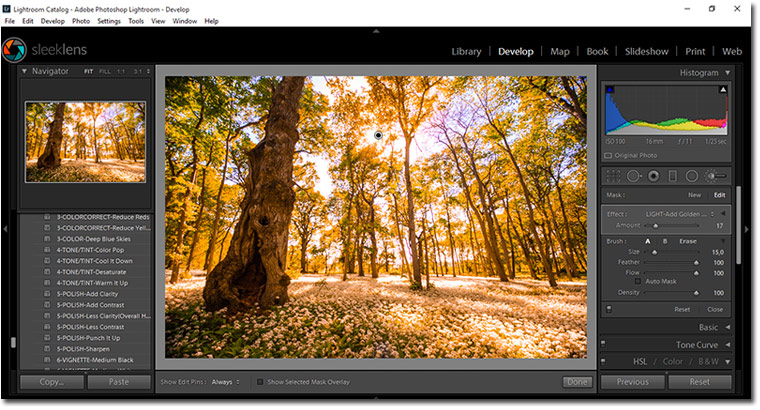
Now move to the Adjustment Brush tool and let’s add a Golden Sun on top for finishing with the adjustments:
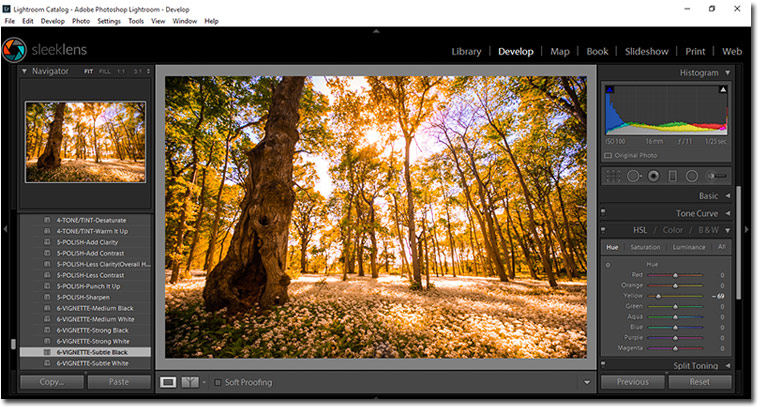
For closing up, give your image a nice vignetting effect with the preset “6-VIGNETTE-Subtle Black”:
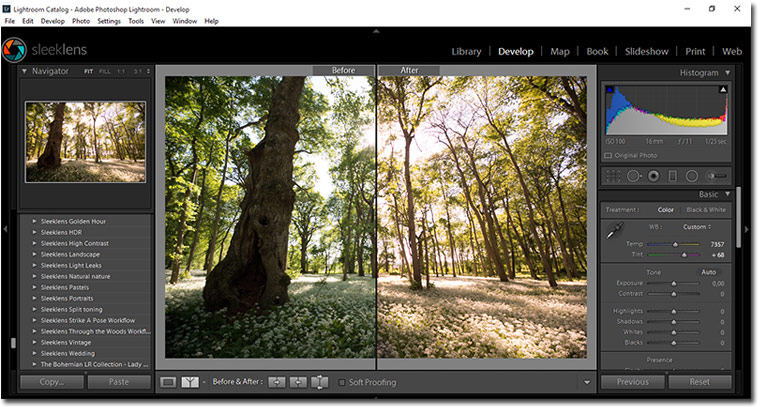
Let’s do a quick Before/After shot in order to compare the results:
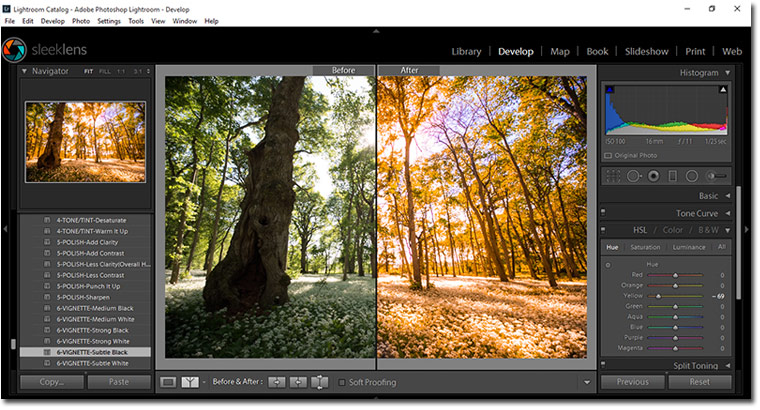
As you can see they look like completely different pictures on the very same location; that’s what Lightroom and a good library of presets can give to your image: bring them back to life. Say goodbye to those days of discarding images because you thought they weren’t good enough, Lightroom can save all of that work done in a quick, friendly way.
There are no hidden secrets on this, just time, practice and patience in order to achieve a good result. Good luck and keep editing!
|
Jane Grates manages Sleeklens.com which specializes in Lightroom workflows and Photoshop. You can connect with them on their Facebook, twitter or Youtube. When she is not busy managing Sleeklens, you can find her traveling around the world or enjoying long walks in nature.